Welcome, coffee lovers, to the refreshing world of iced lattes! If you're tired of splurging on overpriced café drinks or simply want to craft your own delicious cold coffee, you've come to the right place.
In this beginner's guide, we reveal the secrets of how to make an iced latte so you can enjoy a café-quality beverage at home.
What Type of Coffee Should You Use?
Choosing the right coffee for your iced latte is like picking an outfit for a special occasion—it sets the tone for the entire experience. Here are some tips to help you make the best choice:
Coffee Beans
- Single-Origin Beans: Beans from specific regions offer unique flavor profiles. For instance, Ethiopian beans have fruity notes, while Colombian beans are more chocolatey.
- Blends: A mix of beans from different regions offers a balanced, consistent flavor. They’re great if you’re looking for a well-rounded taste.
Roast Level
- Light Roast: Ideal for those who enjoy a more acidic and fruity flavor. Light roasts retain more of the coffee bean’s original characteristics.
- Medium Roast: Offers a balanced flavor with moderate acidity and body. It’s a crowd-pleaser and works well for iced lattes.
- Dark Roast: Perfect for those who prefer a bold, rich, and slightly bitter taste. Dark roasts have a more pronounced coffee flavor that stands up well to milk and ice.
Grind Size
- Espresso Grind: Fine and powdery, this grind is perfect for an espresso machine and a stovetop espresso maker.
- Medium-Fine Grind: Suitable for AeroPress or pour-over methods, offering a balanced extraction.
- Coarse Grind: Best for cold brew, which you can use as a base for your iced latte.
Specialty Coffees
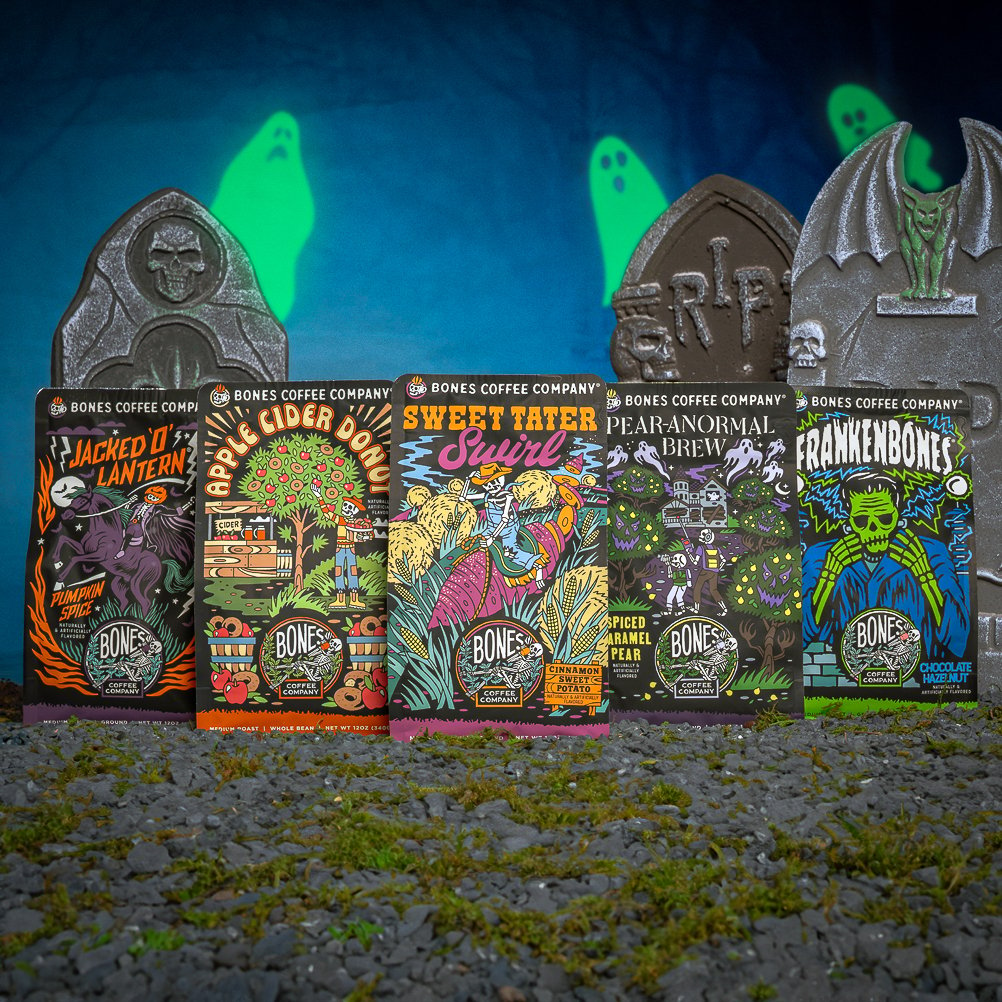
- Flavored Coffee Beans: These beans are infused with flavors such as vanilla, hazelnut, or caramel. They add a layer of taste to your iced latte without additional syrups.
- Decaf Options: If you want to cut down on caffeine, there are excellent decaf beans that don’t compromise flavor.
Here’s a quick comparison table to help you decide:
Coffee Type | Flavor Profile | Best For |
Single-Origin Beans | Unique, region-specific flavors | Coffee enthusiasts |
Blends | Balanced and consistent | General use |
Light Roast | Fruity, acidic | Those who enjoy lighter flavors |
Medium Roast | Balanced, moderate acidity | Most popular choice |
Dark Roast | Bold, rich, slightly bitter | Strong coffee lovers |
Espresso Grind | Fine, powdery | Espresso machines |
Medium-Fine Grind | Balanced extraction | AeroPress, pour-over |
Coarse Grind | Best for cold brew | Cold brew lovers |
Flavored Beans | Infused with additional flavors | Extra flavor without syrups |
Decaf | Low caffeine | Caffeine-sensitive individuals |
From the typical Italian latte to the Americanized café breve, experimenting with different types of coffee can be a fun journey. Whether you prefer a light, fruity note or a dark, robust flavor, there’s a perfect coffee out there for your iced latte.
Using Hot Coffee vs Cold Brew
When making an iced latte, the choice between hot coffee and cold brew can be a game-changer. Each method has its unique flavor profile and preparation style, so let’s dive into the details to help you decide which best suits your taste buds.
Hot Coffee
- Quick and Convenient: Brewing hot coffee is often faster, especially if you already have a coffee maker at home. You can whip up a fresh pot in minutes.
- Bold and Intense Flavor: Hot coffee tends to have a stronger, more robust flavor, which can withstand the addition of cold milk and ice.
- Versatile: You can use any coffee bean or grind, making experimenting with different flavors and roasts easy.
Cold Brew
- Smooth and Mellow: Cold brew coffee is known for its smooth, less acidic taste. It’s perfect for those who prefer a milder coffee experience.
- Make-Ahead Friendly: Cold brewing coffee requires some planning since it needs to steep for 12-24 hours. However, once it’s ready, you can store it in the fridge for up to two weeks.
- Less Bitter: The cold brewing process extracts fewer bitter compounds, resulting in a naturally sweeter coffee that pairs beautifully with cold milk.
Tips for Brewing Hot Coffee for Iced Lattes
- Double Strength: Brew your coffee at double strength to prevent it from getting watered down when you add ice.
- Cool Quickly: Pour the hot coffee into a heat-resistant container and place it in an ice bath to cool it down rapidly.
- Experiment with Beans: Try different coffee beans to find the perfect match for your iced latte at home.
Tips for Making Cold Brew
- Coarse Grind: Use coarsely ground coffee to prevent over-extraction and bitterness.
- Steep Time: For optimal flavor, let the coffee steep in cold water for at least 12 hours but no more than 24 hours.
- Dilute to Taste: Cold brew concentrate can be strong, so feel free to dilute it with water or milk.
Whichever you choose, both methods offer a delightful base for your iced latte at home. Experiment to discover which one you prefer, and enjoy the journey of crafting your perfect cold coffee beverage!
Italy or Seattle? The word "latte" indeed comes from the Italian phrase "caffè latte," which translates to "milk coffee" (caffè meaning coffee and latte meaning milk). Contrary to popular knowledge, the modern latte didn’t come from Italy; it came from Seattle, where baristas began creating latte art and popularizing the drink in the ’80s. |
Using Non-Dairy Milk Alternatives
Non-dairy milk alternatives can add a unique twist to your iced latte that also makes it delicious and suitable for those with dietary restrictions or taste preferences. Here are some popular non-dairy options and what you can expect from each:
- Almond Milk: Slightly nutty and sweet flavor with a light and smooth texture. Best for those who enjoy a subtle nutty flavor in their latte.
- Oat Milk: Creamy with a hint of natural sweetness. Thick and frothy texture best for creating a rich, creamy iced latte.
- Soy Milk: Mild and slightly sweet flavor with a creamy and smooth texture. Best for a classic, versatile latte choice.
- Coconut Milk: Tropical and sweet flavor with a rich and creamy texture. Best for adding a tropical twist to your iced latte.
- Cashew Milk: Creamy and slightly nutty. Smooth and rich, best for a luxurious, creamy texture.
How Do You Assemble an Iced Latte?
The key in how to make an iced latte is finding the perfect coffee-to-milk ratio. Here’s a guide to help you navigate this flavorful adventure:
Standard Ratio
The classic iced latte typically follows a 1:2 ratio of coffee to milk. This means:
- 1 part coffee (usually 1-2 shots of espresso or ½ cup of strong brewed coffee)
- 2 parts milk (about 1 cup)
Adjusting for Taste
Everyone’s palate is different, so feel free to tweak the ratio to suit your preferences:
- Stronger Coffee Flavor: Try a 1:1 ratio. This is perfect for those who love a bold coffee taste.
- Creamier Texture: Opt for a 1:3 ratio. This will give you a richer, milkier drink.
Experiment with Different Coffees
Different types of coffee can affect the ideal ratio:
- Espresso: Typically stronger, so you might stick closer to the standard 1:2 ratio.
- Cold Brew: Naturally smoother and less acidic, allowing a 1:1.5 ratio for a balanced flavor.
Quick Reference Table
Coffee Type | Coffee Amount | Milk Amount | Ratio |
Espresso | 1-2 shots | 1 cup | 1:2 |
Strong Brew | ½ cup | 1 cup | 1:2 |
Cold Brew | ½ cup | ¾ cup | 1:1.5 |
Tips for Perfecting Your Ratio
- Taste as You Go: Start with the standard ratio and adjust by adding more coffee or milk in small increments.
- Consider Add-ins: If you’re adding flavored syrup or sweetener, you might want to reduce the milk slightly to maintain a balanced flavor.
- Temperature Matters: Cold milk can dilute the coffee flavor more than steamed milk, so you might need a stronger coffee base.
The best iced latte is the one that tastes best for you. So grab your favorite coffee beans and your go-to milk, and start experimenting!
A Shot of Energy: An espresso shot, the heart of any iced latte, contains about 63 milligrams of caffeine. This is more concentrated than a regular cup of coffee, making it perfect for a quick energy boost. |
Iced Coffee: Add Ice Before or After the Coffee?
Iced latte pop quiz: ice before or after the coffee? This question might seem trivial, but it can actually make a big difference in your iced latte experience. Let’s dive into the details and help you decide which method suits you best.
Ice Before Coffee: The Classic Approach
Adding ice before pouring in the coffee is the traditional way to make an iced latte. Here’s why many coffee aficionados prefer this method:
- Instant Chill: The hot coffee hits the ice cubes immediately, cooling down faster and preventing it from becoming diluted.
- Layered Look: This method often results in a beautiful, Instagram-worthy layered effect, with the coffee floating above the milk.
- Consistency: The ice cubes help to mix the coffee and milk evenly as you pour, giving you a consistent flavor throughout.
Ice After Coffee: The Modern Twist
Pouring coffee first and then adding ice is a newer approach that has its own set of advantages:
- Stronger Flavor: Since the coffee isn’t immediately diluted by the ice cubes, you get a more robust coffee flavor.
- Temperature Control: You can control the temperature better by adding ice cubes gradually, ensuring your drink is just the right level of cold.
- Less Melting: The coffee can cool slightly before hitting the ice cubes, reducing the melting and keeping your drink from getting too watery.
Fun Tip: Coffee ice cubes can punch up your iced latte quick and easy. Put leftover coffee in ice cube trays and you’ll have coffee ice cubes for instant iced coffees. |
Cheers to Your Perfect Iced Latte
Making an iced latte at home is a fun and rewarding experience that allows you to customize your iced coffee drinks. With the right ingredients, know-how, and a dash of creativity, you can craft a refreshing and delicious iced latte that rivals your favorite local coffee shop.
So grab your go-to coffee beans, experiment with flavors, and enjoy the cool, caffeinated bliss of your homemade iced latte!


